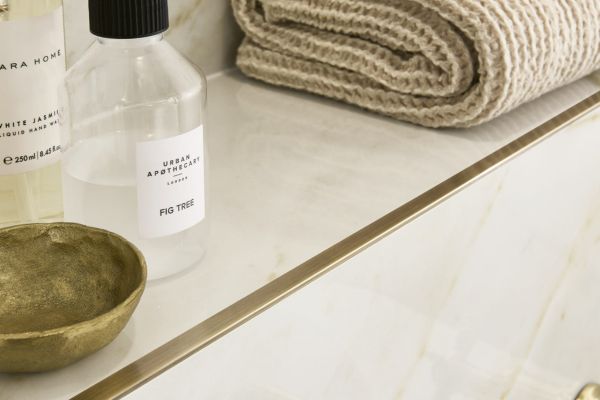
Brass tile trim combines the durability and functionality of traditional tile edging with the warm, luxurious aesthetic of brass, making it an increasingly popular choice for both residential and commercial tile installations.
This comprehensive guide explores everything you need to know about brass trim types and finishes, selecting the right profile for your project, mastering professional installation techniques, and maintaining your brass trim to preserve its beauty and protective function for years to come.
What is Brass Tile Trim?
Brass tile trim is a specialized finishing product designed to cover and protect the exposed edges of tiles while providing an elegant decorative element to any tiled surface.
These precision-engineered profiles serve three critical functions: protecting vulnerable tile edges from chipping and damage, creating clean professional transitions between different surfaces, and adding a sophisticated finishing touch that elevates the overall aesthetic of your installation.
Types of Brass Tile Trim
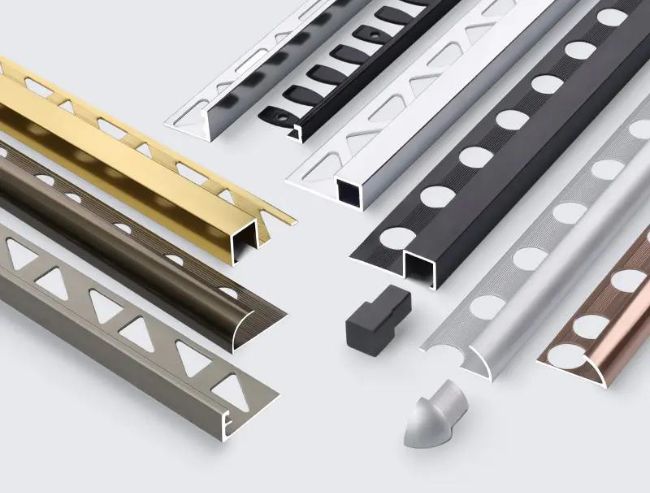
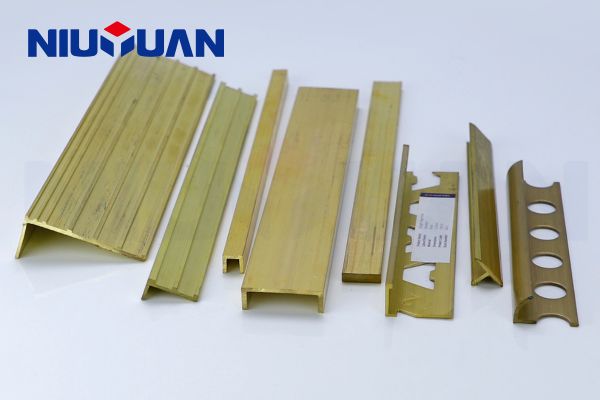
Leading manufacturer NIUYUAN offers an impressive range of brass tile trim profiles, each engineered for specific applications and design preferences. Understanding these variations helps ensure you select the optimal trim for your project’s requirements and aesthetic goals.
Square Edge Profiles
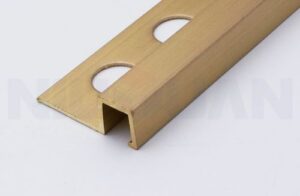
Feature clean, sharp 90-degree angles that create bold, modern transitions between tiles and adjacent surfaces, ideal for contemporary design schemes.
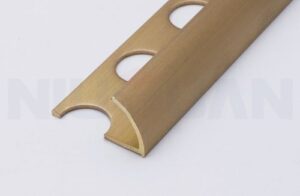
Round Edge Profiles
Incorporate gentle curves with brushed finishes that provide elegant protection while softening harsh lines, particularly effective in traditional settings.

Straight Edge Trim
Offers streamlined linear profiles perfect for creating seamless borders and protecting tile perimeters in both residential and commercial applications.
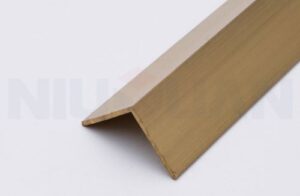
L-Angle Profiles
Designed specifically for corner applications, these create professional-looking 90-degree transitions at wall corners and tile intersections.

T-Shape Profiles
Perfect for creating transitions between different floor surfaces or tile types, commonly used in doorways and room transitions.

U-Shape Profiles
U-shape profiles provide a clean channel for tile edges, ideal for creating decorative borders or as a transition between two different materials. Their channel design perfectly encases the edge of the tile, offering comprehensive protection and a stylish look.
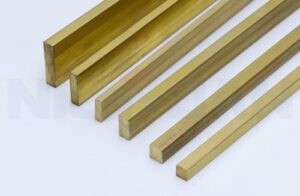
Flat Brass Strips
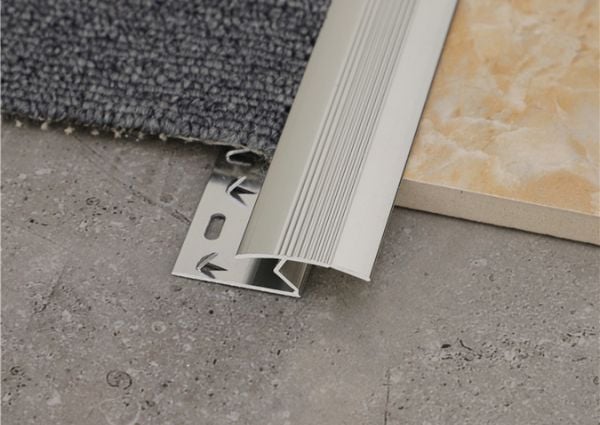
These versatile strips provide seamless transitions between different flooring materials while maintaining a sleek, low-profile appearance. They are particularly effective for bridging gaps between tile and hardwood, carpet, or other flooring types, ensuring smooth pedestrian traffic flow and preventing trip hazards in doorways and room transitions
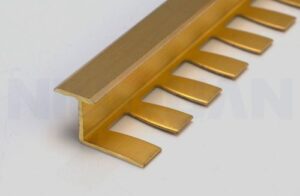
Bendable Strips
Designed for curved applications, these strips can be shaped to follow rounded walls, arches, or custom patterns, offering a seamless finish for non-linear designs.
Reducer Strips
Accommodate height differences between adjacent flooring materials while maintaining a smooth, professional appearance.
| Finish | Description |
| Brushed Brass | Features a sophisticated matte texture that complements both modern and traditional fixtures while resisting fingerprints and water spots. |
| Polished Brass | Delivers a high-gloss reflective finish that creates dramatic focal points and pairs beautifully with contemporary hardware. |
| Antique Brass | Provides an aged, weathered appearance that adds character and warmth to vintage or rustic design themes. |
| Natural Brass | Offers an uncoated finish that develops a unique patina over time, perfect for projects where authentic aging is desired. |
| Burnished Brass | Combines durability with a subtle sheen that works well in high-traffic commercial environments. |
How to Choose the Right Brass Trim for Your Project?
Selecting the appropriate brass trim requires careful attention to both technical specifications and aesthetic considerations to achieve professional results that enhance your tile installation’s functionality and visual appeal.
Determining the Correct Depth
The most critical factor in trim selection is choosing the proper depth to accommodate your specific tile and installation method. Never simply match the trim depth to your tile thickness, as this fundamental mistake creates exposed edges and compromised durability.
Wall Applications: Choose trim 1mm to 1.5mm deeper than your tile thickness to accommodate the thinner adhesive bed typically used on vertical surfaces.
Floor Applications: Select trim 1.5mm to 2mm deeper than your tile thickness to account for the thicker mortar bed required for floor installations.
When in Doubt: Always opt for the slightly larger size, as trim that sits marginally high can be smoothly blended with grout, while trim that’s too shallow creates permanent installation flaws.
Common Size Recommendations
Use these standardized recommendations as starting points for trim selection. These pairings have been tested extensively across different installation scenarios and provide reliable results for both wall and floor applications.
| Tile Type and Application | Recommended Brass Trim Size |
| 6mm Tiles (Wall Mosaics) | Use 8mm brass trim |
| 8mm Tiles (Wall) | Select 10mm brass trim |
| 10mm Tiles (Wall) | Choose 12mm or 12.5mm brass trim |
| 10mm Tiles (Floor) | Use 12.5mm brass trim |
| 12mm Tiles (Floor Natural Stone) | Select 14mm or 15mm brass trim |
Design Style Coordination
Successful brass trim selection requires harmonizing the material finish and profile shape with your overall design aesthetic to create cohesive visual impact.
- Modern/Minimalist Spaces – Brushed brass finishes in clean L-shape or square edge profiles complement contemporary fixtures while maintaining understated elegance.
- Vintage/Art Deco Interiors – Polished or antique brass paired with decorative or subway tiles creates authentic period character and sophisticated contrast.
- Industrial/Wabi-Sabi Styles – Raw or antique brass finishes highlight natural imperfections and material authenticity that define these design philosophies.
Application-Specific Considerations
- Bathroom/Wet Areas – Solid brass naturally resists moisture and develops protective patina rather than rusting, making it ideal for shower niches, backsplashes, and tub surrounds.
- Kitchen Backsplashes – The non-porous nature and easy maintenance of brass provides stylish framing while withstanding cooking moisture and cleaning products.
- Floor Transitions – T-shape profiles deliver professional-grade solutions for creating clean breaks between different flooring materials in doorways and room transitions.
- Feature Walls – U-channel or flat bar configurations enable striking geometric patterns and architectural emphasis that showcase brass’s decorative potential.
Calculating Material Requirements
Measure Edge Lengths: Calculate the total linear footage of all edges requiring trim protection.
Add 10% Waste Factor: Include additional material to account for cutting waste, damaged pieces, and installation adjustments.
Round Up Calculations: When dividing measurements don’t yield whole numbers, always round up to ensure sufficient material coverage.
A Step-by-Step Installation Guide
Essential Tools and Materials
Professional brass trim installation requires specific tools and materials to ensure precise cuts, proper adhesion, and lasting results.
| Tool/Equipment | Purpose |
| Tape measure and pencil | Accurate measurements |
| Miter saw with metal-cutting blade | Clean, precise cuts |
| File or deburring tool | Smooth rough edges |
| Quality level | Perfectly straight installation |
| Rubber mallet | Gentle tile adjustment without damage |
| Clean sponges or cloths | Excess grout removal |
Materials: brass tile trim, thin-set mortar adhesive, and complementary grout. Keep extra adhesive available, as brass trim requires complete coverage behind the anchoring leg.

The Professional Installation Process
Step 1: Precision Measuring and Cutting
Measure each required length carefully, accounting for any irregularities in your walls or surfaces. For corner applications, use a miter saw to create precise 45-degree cuts that ensure seamless joints without gaps. Always cut slightly long initially, then file to exact length for a perfect fit.
Step 2: Strategic Adhesive Application
Apply a continuous bed of tile adhesive along the entire edge where trim will be positioned, ensuring adequate coverage that will push through the perforated anchoring holes when compressed. The adhesive bed should be slightly wider than the trim’s base to prevent gaps.
Step 3: Secure Trim Placement
Press the perforated anchoring leg firmly into the adhesive, applying steady pressure to ensure the adhesive extrudes through all perforation holes for maximum mechanical bond. Use your level to verify the trim sits perfectly straight before the adhesive begins to set.
Step 4: Adjacent Tile Installation
-Set tiles against the trim’s edge, pressing firmly to achieve tight contact. Use a rubber mallet with gentle tapping motions to ensure tiles sit flush with the trim’s top surface, creating a seamless transition. Check frequently with your level to maintain consistent alignment.
Step 5: Final Grouting and Cleanup
Once the adhesive has properly cured, apply grout to fill the joint between tiles and trim, working diagonally across the surface. Immediately remove excess grout with a damp sponge using circular motions to prevent grout haze formation. Most brass trims include a protective plastic film that should remain in place throughout installation until all grouting work is complete to prevent scratches and damage.
Cleaning and Maintenance Tips
Daily Care and Maintenance
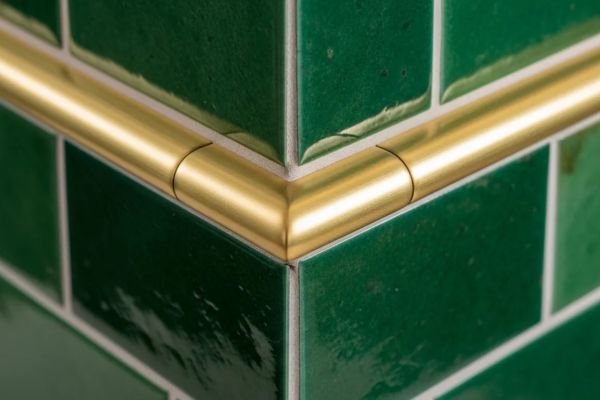
Brass trim maintenance requires only gentle cleaning with a soft, damp cloth and mild soap solution to prevent soap scum, water spots, and grime buildup. Avoid abrasive materials like steel wool or harsh chemical cleaners containing acids, as these can permanently scratch and discolor the surface. Weekly cleaning in bathrooms prevents mineral deposits, while kitchen trim should be cleaned immediately after cooking to prevent grease buildup.
Restoring and Preserving Finish
When brass trim loses its luster, commercial cleaners like Bar Keepers Friend provide quick restoration in under a minute. Professional products such as Simichrome, Wenol, or Flitz effectively remove tarnish without leaving residue in grooves or details. DIY alternatives include ketchup, lemon and salt, or vinegar mixtures, though results vary by brass composition and tarnish severity.
The natural patina that develops on unfinished brass creates a weathered appearance valued in vintage and rustic designs. This oxidation is normal and provides corrosion protection. To maintain the original polished look, a regular application of brass polish preserves the reflective finish. Many homeowners embrace the patina for its authentic character, reduced maintenance, and visual warmth.
Conclusion
The seemingly modest addition of brass trim transforms ordinary tile installations into sophisticated, professional-grade surfaces that command attention and admiration. This elegant finishing touch represents far more than decorative enhancement—it delivers essential edge protection, prevents costly tile damage, and creates seamless transitions that define quality craftsmanship.
To explore a premium selection of profiles and finishes, consider discovering the offerings from NIUYUAN Brass Tile Trim, a leading name in quality and design.