What Is The Purpose of Tile Edge Trimming?
Tired of seeing chipped, ugly tile edges ruin your beautiful new tile job? You spend so much time and money on a project, only for the unfinished edges to make it look unprofessional and incomplete.
The main purpose of tile edge trimming is to protect the raw, exposed edges of your tile from chipping, cracking, and damage. It also provides a clean, professional finish, covering sharp edges and creating a smooth transition to other surfaces, which enhances both the durability and the look of your tile installation.
Finishing the edges of your tile is a critical final step. It’s the difference between a project that looks okay and one that looks truly professional and is built to last. I’ve seen it time and time again; a great tile installation can be let down by poorly finished edges. This detail not only protects your investment but also elevates the entire look of the space. It’s a step I never skip, and once you see the difference, you won’t either. Let’s get into why this small detail makes such a big impact.
Is tile edge trim necessary?
Have you ever wondered if you really need to add that extra trim piece to your tile? It can seem like just another small detail and an added cost, making you question if it’s truly essential for your project.
Tile edge trim isn’t strictly necessary in every single situation, but it is highly recommended for any exposed tile edge. It protects vulnerable corners from damage, covers sharp edges for safety, and gives the entire installation a polished, professional appearance. Without it, your tile is more likely to chip.

I get this question a lot. In my years of working with tile, I’ve learned that cutting this corner often leads to regret. Think about it. The edge of a tile is its weakest point. A simple knock from a vacuum cleaner or a dropped item can easily cause a chip or a crack. I once had a client who decided against trim for their kitchen backsplash to save a few dollars. Within a few months, the corners around the countertop were chipped and looked terrible.
They ended up calling me back to retrofit a trim solution, which was more complicated and costly than doing it right the first time. It’s a simple preventative measure that keeps your tile looking great for years. While you can sometimes get away without it, like where tile meets a door frame or a bathtub, for any open and exposed edge, it’s a must-have in my book.
Where do you use tile edge trim?
You’ve decided to use tile trim, but now you’re looking at your project and wondering exactly where it should go. The application isn’t always obvious, and you want to make sure you get it right for a clean finish.
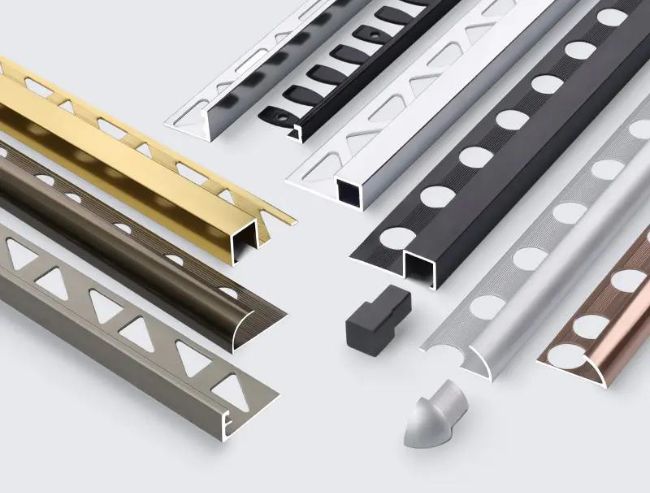
You use tile edge trim wherever a tile surface ends and its raw, unglazed edge would be exposed. This includes the outside corners of walls, the edges of a backsplash, shower niches and curbs, and the transition point between a tiled floor and another flooring type.

Let’s break down the common spots where I always install an edge trim. It’s all about identifying the end of the line for your tile.
- Wall Corners: This is probably the most common use. When you have an outside corner, like the edge of a half-wall in a bathroom, a trim piece protects that corner from getting banged up and gives it a clean, rounded, or squared-off look.
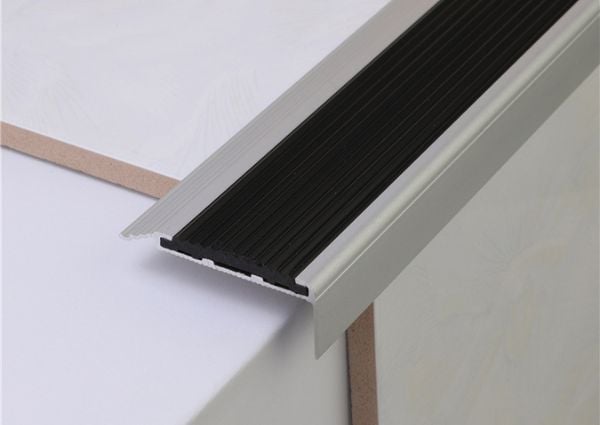
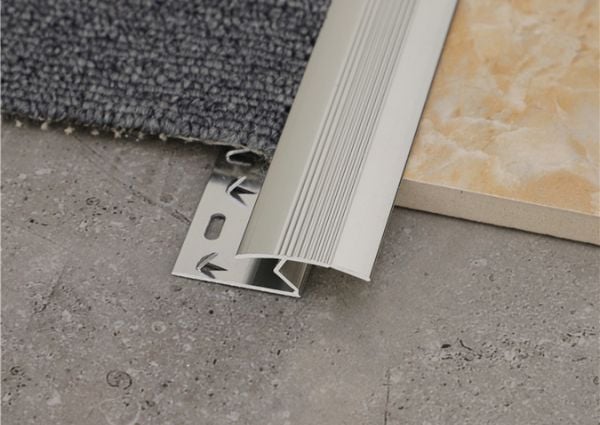
- Flooring Transitions: When your beautiful tiled floor meets carpet, wood, or another surface, a transition strip is essential. It bridges the gap, protects the tile edge from foot traffic, and prevents a tripping hazard.
- Backsplashes and Countertops: The exposed edges of a kitchen backsplash or a tiled countertop are prime candidates for trim. It provides a finished look and makes the area easier to clean.
- Shower Features: Shower niches, benches, and curbs are high-contact areas. I always use trim here to protect the corners from wear and tear and to prevent water from getting behind the tiles.
Thinking about these specific locations helps you plan your project. It’s not just about one type of trim, either. The location helps determine the best material and shape for the job.
Is it better to use Schluter or bullnose?
You’re at the store, looking at tile finishing options, and you see two main choices: bullnose tile and metal trims like those from Schluter. They look so different, and it’s hard to know which one is the right call for your project’s style and needs.
Choosing between Schluter and bullnose depends on your desired aesthetic and budget. Schluter, a metal trim, offers a modern, clean-lined look and high durability. Bullnose, a ceramic trim with a rounded edge, provides a more traditional, softer finish but can be more expensive and limited in availability.

I’ve installed countless miles of both, and the choice really comes down to the look you’re going for and some practical considerations. A few years ago, I was renovating my own bathroom and went with a sleek, modern design. The sharp, clean lines of a brushed nickel Schluter profile were the perfect fit to go with my fixtures.
It just screamed contemporary. On the other hand, for a client who wanted a very classic, timeless subway tile look in their kitchen, we used a matching ceramic bullnose. It created a soft, seamless transition that felt perfectly integrated with the tile itself.
To help you decide, let’s look at them side-by-side:
| Feature | Schluter (Metal Trim) | Bullnose (Ceramic Trim) |
|---|---|---|
| Aesthetics | Modern, minimalist, clean lines. | Traditional, classic, soft edges. |
| Material | Aluminum, Stainless Steel, PVC. | Ceramic or Porcelain. |
| Durability | Very high, especially stainless steel. | Good, but can chip like any tile. |
| Installation | Tucked under the tile during install. | Installed like another piece of tile. |
| Versatility | Huge range of finishes and shapes. | Must match your specific tile series. |
| Cost | Generally affordable and consistent. | Can be expensive and hard to find. |
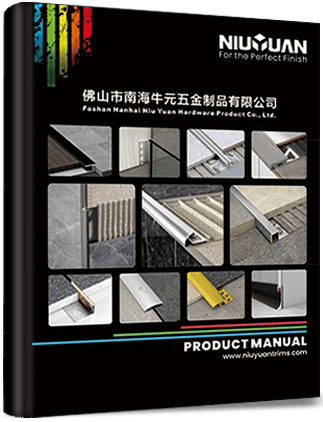
Ultimately, there’s no single “better” option. If you want a modern look and lots of finish options, I’d point you toward NIUYUAN trims, which are similar to Schluter. If you want a traditional finish where the edge is made of the same material as the field tile, bullnose is the way to go, assuming it’s available for your chosen tile.
What are the benefits of tile skirting?
You’re tiling a floor and see the option for “skirting tiles.” It looks like a baseboard made of tile, and you might wonder if it’s just a style choice or if it offers real advantages over a standard wood baseboard.
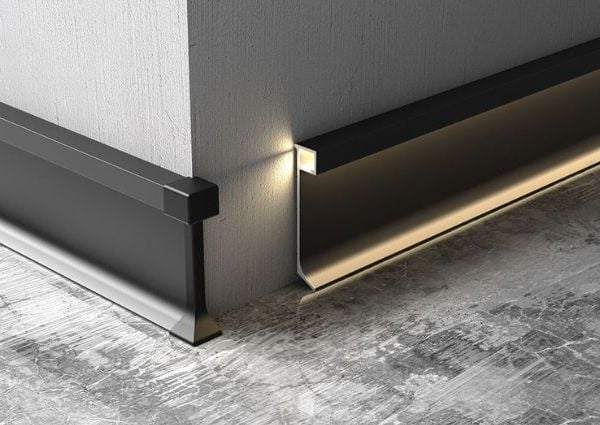
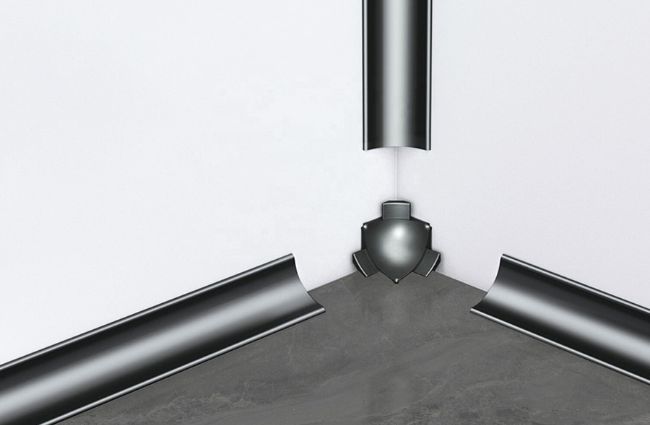
Tile skirting creates a seamless, waterproof transition from floor to wall. Its main benefits are protecting the base of the wall from scuffs, impacts, and water damage from mopping, while also being incredibly durable and easy to clean, making it ideal for bathrooms and kitchens.

I strongly recommend tile skirting, especially in wet areas. Think about a bathroom floor. When you mop or when water splashes from the shower, a standard wood or MDF baseboard will absorb that moisture over time. This leads to swelling, peeling paint, and eventually, rot.
I’ve had to replace so many ugly, water-damaged baseboards in bathrooms. By using tile skirting, you create a continuous, waterproof barrier right at that vulnerable junction. It completely eliminates that problem.
Let’s break down the key advantages:
- Ultimate Durability: Tile is tough. It won’t get dented by the vacuum cleaner or scuffed by shoes like a painted baseboard would. It’s a set-it-and-forget-it solution.
- Waterproof Protection: This is the big one. It’s the perfect solution for bathrooms, laundry rooms, and kitchens. You can mop the floor without worrying about damaging the wall.
- Seamless Aesthetics: Using the same tile for the floor and the skirting, or a coordinating one, creates a very clean, high-end, and cohesive look. It makes the room feel unified and thoughtfully designed.
- Easy Maintenance: A quick wipe with a damp cloth is all it takes to clean tile skirting. There’s no need for repainting or touch-ups down the line.
While it might seem like a small detail, choosing tile skirting is a practical upgrade that adds long-term value and durability to your space. It’s a smart choice for a lasting, low-maintenance finish.
Conclusion
In the end, tile edge trim is a small detail that provides essential protection and a professional finish, ensuring your tile work looks great and lasts for years to come.
If you need to purchase or customize tile trims in the near future, please feel free to contact us.