Incorrectly installed tile edge trim can lead to unsightly gaps, uneven surfaces, and even damage to your tiles over time. Fortunately, following the right steps ensures a smooth and professional finish.
To install tile edge trim correctly, start by measuring and cutting the trim to the required length, then apply a suitable adhesive to the area where the trim will be placed. Secure the trim firmly in position and align it with the tiles before pressing it into the adhesive. Finish by cleaning off any excess adhesive and allowing it to set.
Now, let’s dive into the detailed steps for a flawless tile edge trim installation.
Materials and Tools Needed
Before you begin, gather the following materials and tools to ensure a smooth installation process:
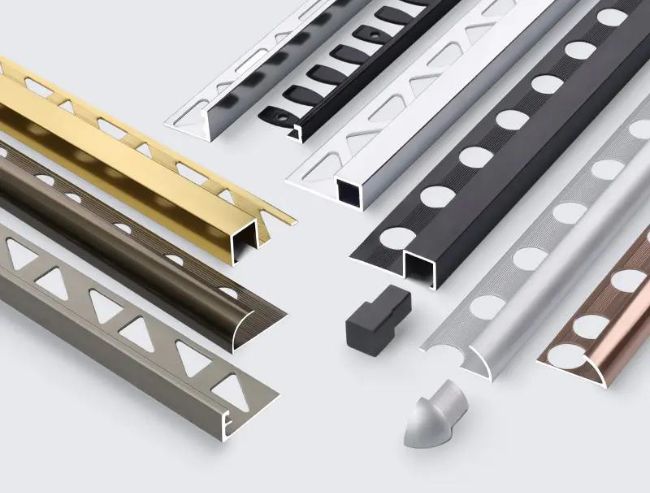
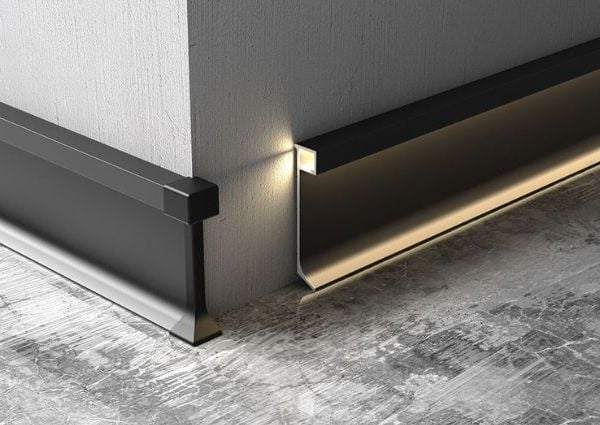
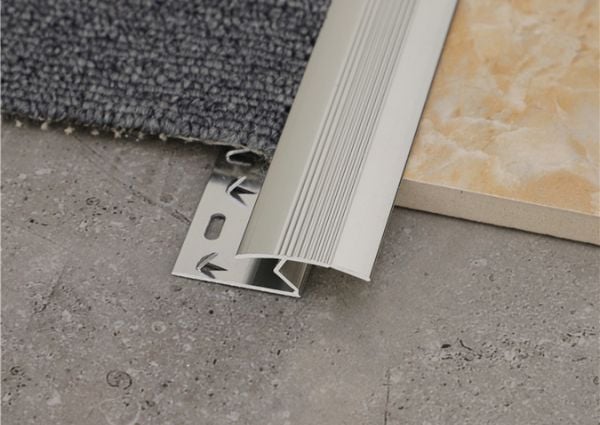
Tile Trim: Choose the decorative style and material that suits your project. There are a variety of materials to choose from for tile trim, including aluminum tile trim, stainless steel tile trim, brass tile trim, plastic tile trim, and ceramic tile trim.
Tile adhesive: You need a good adhesive that works with your type of tile to stick your trim in.
Caulk and Caulking Gun(optional): For sealing the joints between tiles and trim.
Measuring tape: To accurately measure and cut the trim.
Miter Box and Saw (optional): If you need to cut the trim at angles.
Notched Trowel: For applying adhesive evenly.
Level: To ensure tiles and trim are aligned correctly.
Sponge: For cleaning excess grout or caulk.
Safety Goggles and Gloves: For personal protection.
Sandpaper: For sanding the rough edges of tiled trims after cutting.
Of course, the materials and tools you need are not set in stone. It is best to refer to the installation instructions from the supplier first, as this will save you a lot of trouble.
A Step-by-Step Guide for Installing Tile Edge Trim
Now, let’s go over how to install tile edge trim correctly:
Step 1: Measure and Plan
Begin by measuring the size of the area where you plan to install the tile edge trim. To measure it, use a tape measure. Make sure you measure it right. You must do this if you want the trim to fit like you want it to with no overlap or gap. Mark this stuff on the wall or the floor with a pencil.
Step 2: Cut the Tile Trim to Size
Mark the trim according to your measurements. Use a miter box or appropriate saw to make precise cuts. Always wear safety goggles and gloves while cutting. After cutting, sand the rough edges with sandpaper.
For corners, miter the ends at 45 degrees for a neat join. Double-check the fit before proceeding to ensure accuracy.
Step 3: Apply Tile Adhesive (if needed)
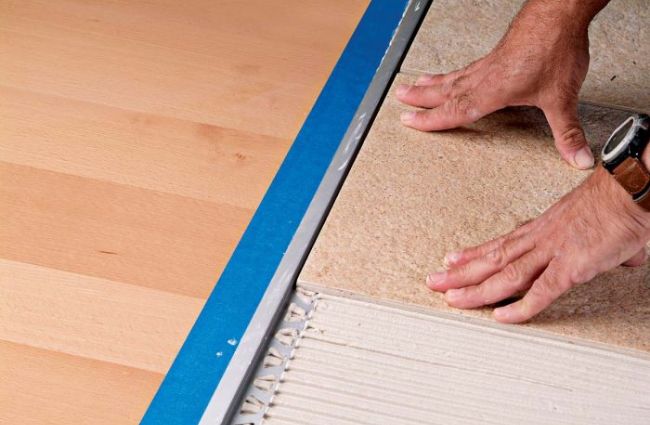
If the trim is designed to be embedded in tile adhesive, apply a thin layer of adhesive to the edge of the area. Using a notched trowel, spread the adhesive evenly over the area where the tiles and edge trim will be installed. This step ensures that the trim adheres firmly and stays in place during installation.
Some trims have flanges that embed into the adhesive, eliminating the need for separate application. Follow the manufacturer’s instructions for best results.
Step 4: Position the Tile Trim
Press the tile edge trim into the adhesive along the edge of the tiles. Make sure the trim’s anchoring leg is fully embedded in the adhesive. Set your level on top of the trim and check that it’s level sideways and up and down. Get it how you want it before the glue dries because if you don’t, it will look like garbage.
Step 5: Cutting and Laying the Tiles
Begin tiling next to the trim. Apply adhesive to the substrate or tile backs. Place each tile, maintaining consistent spacing. Cut tiles as needed to fit against the trim and other edges.
Use tile spacers to maintain even gaps between the tiles. This step ensures a uniform look and helps with grouting later.
Step 6: Seal the Joints (optional)
For added protection, apply a sealant between the tile and trim joints. This step is especially important in wet areas. Use a suitable sealant and apply it neatly. This not only seals gaps but also enhances the overall appearance.
Step 7: Final Check
While the glue is drying, eyeball your work. Are all the tiles level and lined up with your trim? Make any adjustments that you might have to do because it’s going to be a real pain later. This final check will give you a perfect installation.
Step 8: Continue Tiling
Once the tile edge trim is securely in place, continue with your tiling project as usual, completing the rest of the tile installation.
Things to Consider When Installing Tile Edge Trim
Material Choice: Tile edge trims come in various materials like metal, ceramic, and PVC. Choose a material that complements your tiles and fits the installation environment.
Trim Size: Make sure the trim size matches the thickness of your tiles for a seamless finish.
Surface Preparation: Clean and dry the surface before applying adhesive to ensure a strong bond.
Placement: Proper placement and alignment are crucial for a professional look. Use spacers and a level to maintain uniformity.
Sealing Joints: Sealing joints between the trim and the tiles can prevent water infiltration, especially in wet areas like bathrooms and kitchens.
Color and Finish: Pick a trim color and finish that will make your tile and the layout plan that you select look amazing. It’s about using coordinating or contrasting colors that can make your installation look great.
Conclusion
Installing tile edge trim requires careful planning and precise execution. By following the step-by-step guide, you can achieve a professional, polished look that not only enhances the aesthetic appeal but also protects your tiles from damage.
Remember to choose the right trim, measure accurately, and allow sufficient drying time for the adhesive. Whether you’re installing trim on a wall, floor, or shower, these tips will ensure a successful project.
If you have a project in the near future that requires a large purchase of tile trim, feel free to contact us for the best price.